如何在 Laravel 中 使用 Beauty mail 发送漂亮的HTML电子邮件
原文地址 : How to send beautiful HTML emails with Laravel using Beauty mail
2018年8月14日
大家好,欢迎回到 laravel。这里将向您展示如何使用SnowFire的Beauty邮件包在您的laravel应用程序中发送干净漂亮的HTML电子邮件。在我之前的一篇文章中我向您展示了如何使用SendGrid邮件服务提供商发送电子邮件,在这里我扩展了发送干净优雅的HTML电子邮件而不是纯文本电子邮件。
设置 Beautymail
所以首先将此包装入我们的应用程序。
composer require snowfire/beautymail dev-master在composer完成安装后,您需要将其添加到服务提供者列表中 ~/config/app.php
'providers' => [
    // .....,
    // .....,
    Snowfire\Beautymail\BeautymailServiceProvider::class,
];
Beautymail 允许我们设置一些发送电子邮件的配置,可以在其中设置要在电子邮件中发送的徽标,其尺寸以及要包含在您的邮件和所有此类设置中的任何社交链接。您可以更改您的设置 ~/config/beautymail.php 。
<?php
return [
    'colors' => [
    'highlight' => '#004ca3',
        'button'    => '#004cad',
    ],
    'view' => [
        'senderName'  => null,
        'reminder'    => null,
        'unsubscribe' => null,
        'address'     => null,
    'logo' => [
            'path'   => '%PUBLIC%/img/logo.png',
            'width'  => '100',
            'height' => '100',
        ],
    'twitter'  => 'justLaravel',
        'facebook' => 'justLaravel',
    ],
];
查看输入电子邮件
我已经制作了一个简单的应用来展示它是如何工作的,我放置了一个输入框,可以输入一个电子邮件地址。然后该电子邮件地址将验证将使用我们设计和定制的html电子邮件模板向该电子邮件地址发送邮件。
所以我们的观点看起来像,
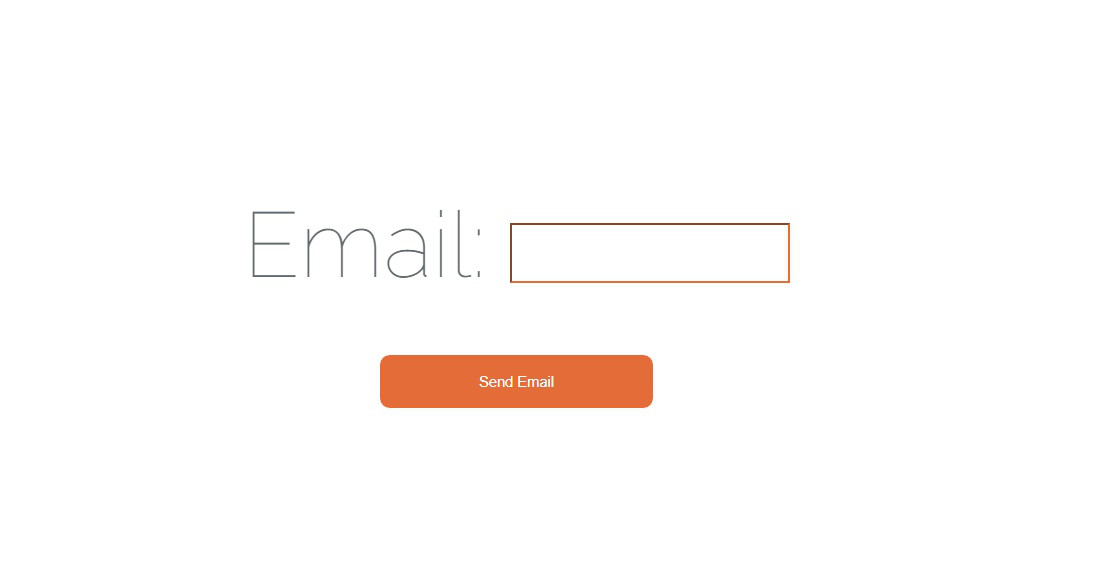
它是最最基本的一个带有单个输入的电子邮件地址和一个用于发送电子邮件的提交按钮的表单。
<form action="{{ URL::to('/sendMail') }}" method="POST">
    {{ csrf_field() }}
    <div>Email: <input type="email" name="email" required></div>
    <button type="submit">Send Email</button>
</form>
因此,当按下提交按钮时,它会转到 sendmail 您可以发送电子邮件的路线,但在此之前,我将设计要发送的电子邮件的视图。
设计和自定义您的电子邮件视图
Beautymail为我们提供了很少的电子邮件模板,我在这里使用它们并在它提供的视图中添加一些自定义内容。要查看所有可用的模板,您可以访问他们的GitHub仓库:Snowfire/Beautymail我使用’ark’模板,这是他们提供的示例代码,
@extends('beautymail::templates.ark')
@section('content')
@include('beautymail::templates.ark.heading', [
'heading' => 'Hello World!',
'level' => 'h1'
])
@include('beautymail::templates.ark.contentStart')
<h4 ><strong>Hello World</strong></h4>
<p>This is a test</p>
@include('beautymail::templates.ark.contentEnd')
@include('beautymail::templates.ark.heading', [
'heading' => 'Another headline',
'level' => 'h2'
])
@include('beautymail::templates.ark.contentStart')
<h4 ><strong>Hello World again</strong></h4>
<p>This is another test</p>
@include('beautymail::templates.ark.contentEnd')
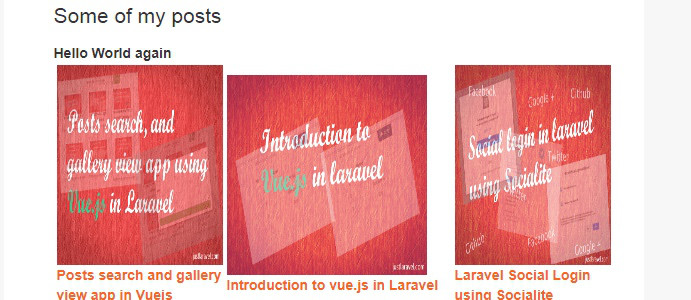
@stop在这里,我删除了默认的hello world内容,并添加了一些帖子链接和图片以及一些文本。您可以添加你想要之间的任何内容 @include('beautymail::templates.ark.contentStart') 和 @include('beautymail::templates.ark.contentEnd')
发送邮件
首先,要发送邮件,您需要进行一些设置,例如设置mailhost,用户名密码等。我用 sengrid 在这里发邮件。我还有一篇文章介绍如何在 sengrid 上注册并使用它发送邮件。请看这里 > 推荐: How to use SendGrid email service provider to send emails using laravel
在表单中, 我设置了操作发送到 sendMail , 所以需要对他设置一个路由.
Route :: post('/ sendMail','IndexController@sendMail');在 IndexController 中,我有一个新方法 sendMail
public function sendMail(Request $request){
    $this->validate($request, [
        'email' => 'bail|required|email',
    ]);

    $beautymail = app()->make(\Snowfire\Beautymail\Beautymail::class);
    $beautymail->send('emails.welcome', [], function($message)
    {
        $email = Input::get('email');
        $message
            ->from('donotreply@justlaravel.com')
            ->to($email, 'Howdy buddy!')
            ->subject('Test Mail!');
    });
         return Redirect::back();
    //return view('welcome');
}
在上面的代码中,以下两行发送邮件,
$beautymail = app()->make(\Snowfire\Beautymail\Beautymail::class);
$beautymail->send('emails.welcome', [], function($message) {
  ...
  ...
})
在 message 函数中,你可以添加从地址和主题。发送邮件后,你可以返回任何成功的视图或任何您想要的东西,这里为了示例,我只是重定向回来。我还为电子邮件输入添加了一些验证,如果你查看函数的初始行,我会检查电子邮件是否需要以及是否是有效的电子邮件。您可以通过放置以下代码在视图中显示错误,
@if ($errors->any())
@foreach ($errors->all() as $error)
<div style="color:red; font-size:18px !important;"> {{ $error }}</div>
@endforeach
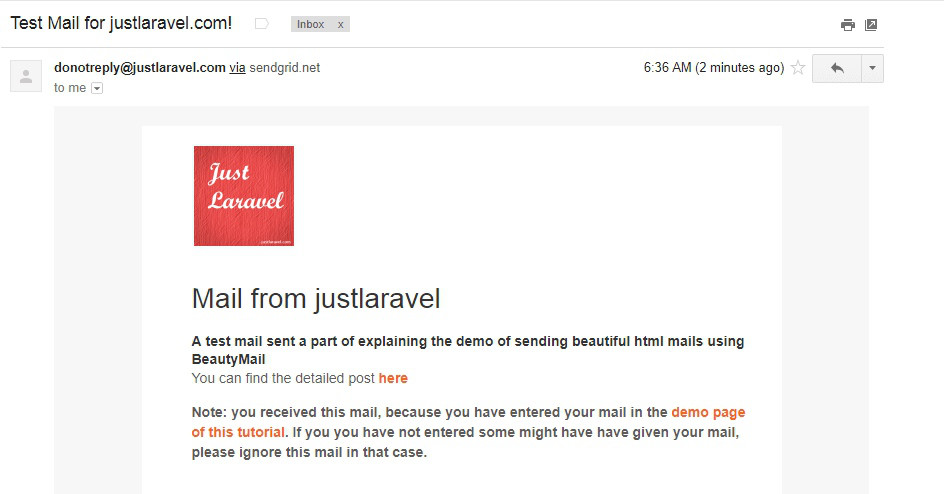
@endif发送的邮件将如下所示,
我插入的自定义内容看起来像,
页脚中的facebook和twitter图标,
这就是文章的全部内容。现在,你已成功了解如何从laravel应用程序发送精美电子邮件。